Installing a geothermal heat pump in your home is an exciting prospect. But what actually goes into the installation process? How long does it take? What work is involved? We’ve answered all of these questions below in our walk-through of the geothermal energy installation process.
The Site Visit
The first step in the installation process is to have a heat pump installer come to your home and determine what type of heat pump, energy supply source, and energy distribution system you should install. The installer will look at several factors to determine what type of installation will suit your home, including:
- the size of your building lot.
- how much land you have.
- whether you have a water well.
- whether that well has enough flow to support an open loop system.
These factors will help your installer decide what type of energy supply source makes the most sense for your home. There are different configurations that suit different lot sizes and water well characteristics. For example, if you had a limited lot size, you might not have enough space to install a horizontal closed ground loop. In that case, if your well had enough flow, an open loop would be a viable option. If there isn’t enough flow, a vertical closed ground loop would be selected.
Once your installer is finished gathering information about your property, they’ll move indoors to gather important information about your home. Some of the details include:
- the size of your home.
- the existing heating system.
- dimensions and layout.
- orientation of glass.
- the level of insulation in the home.
- the size, rating and number of windows.
- existing ventilation and air exchanger system.
- whether there are “weak spots” in your home’s envelope like fireplaces with no dampers, old windows etc.
Once your installer has all of the measurements and information, they’ll do a building heat load analysis. The building heat load analysis tells the installer what size of heat pump they’ll need to adequately heat and cool the home. This is usually done with a software program, and isn’t done on the spot. Usually the installer will return with an itemized cost estimate after performing the heat load analysis.
Once you accept the estimate, the actual installation process can begin. The installation will proceed differently depending on whether your home is a new construction or home heating renovation project. Let’s walk through each process below.
Geothermal Energy Installation Process for New Construction
If you’re building a new home and are planning to include a geothermal heat pump, your Nordic® expert will have to work in conjunction with the builder to coordinate the installation process, to ensure their time on site doesn’t conflict with other work going on at the property.
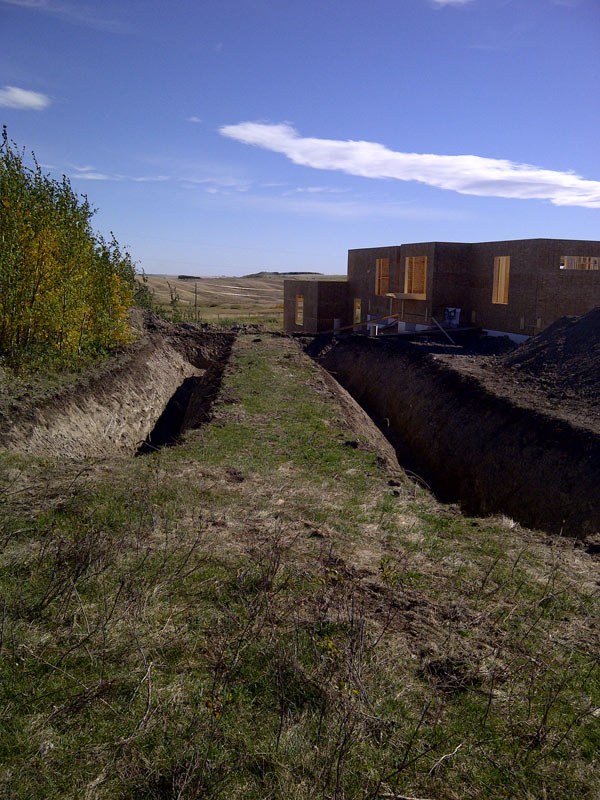
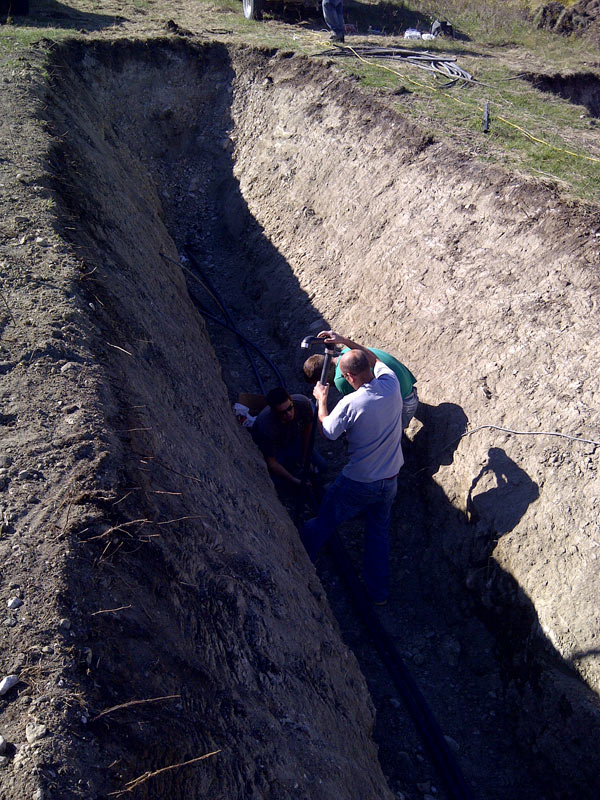
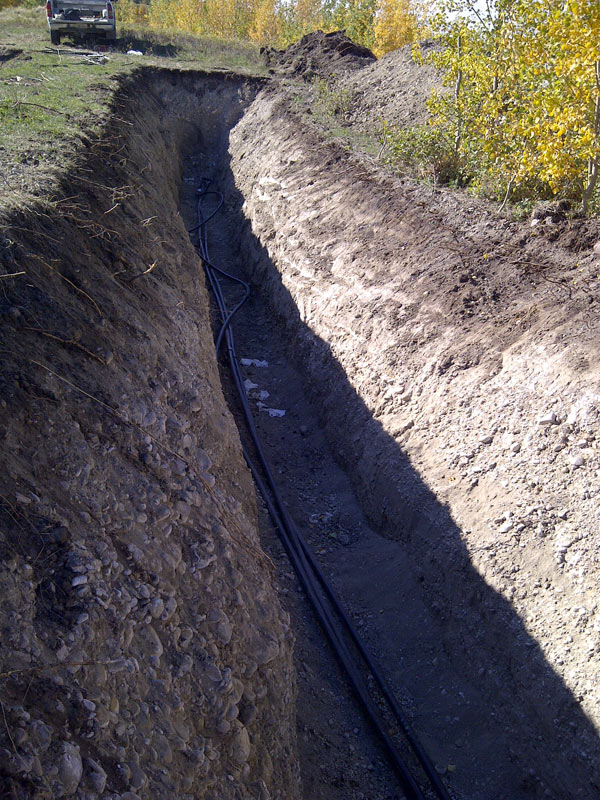
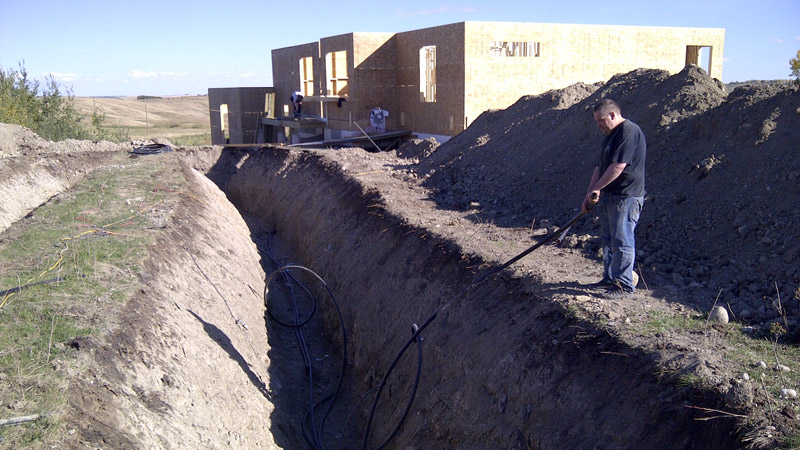
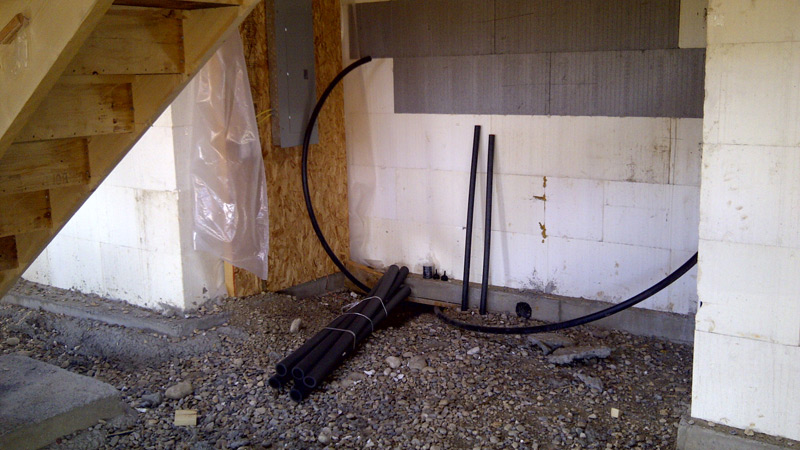
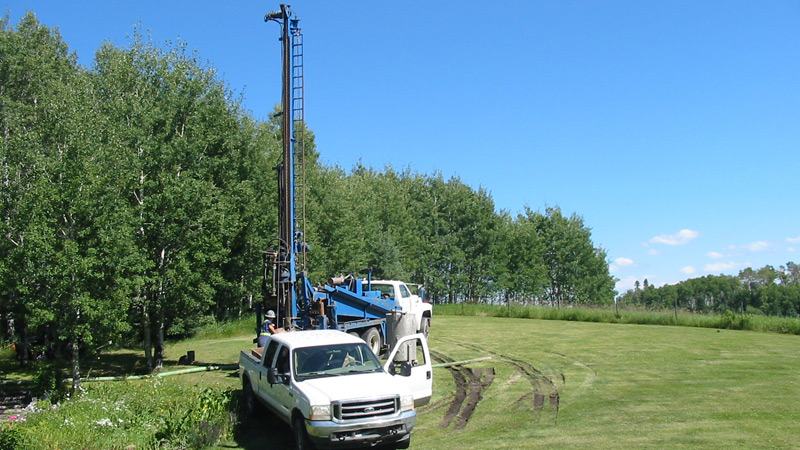
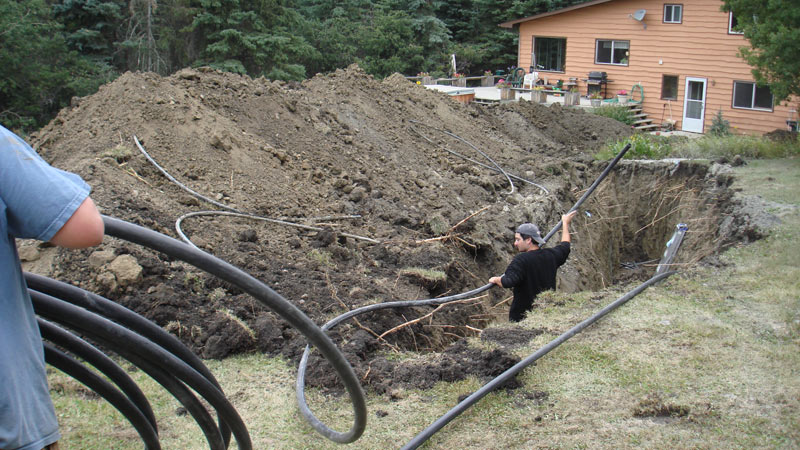
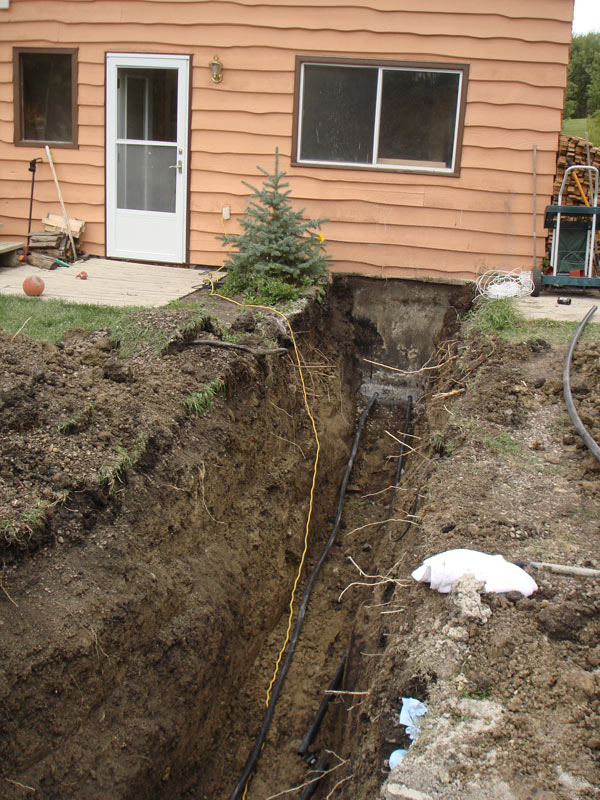
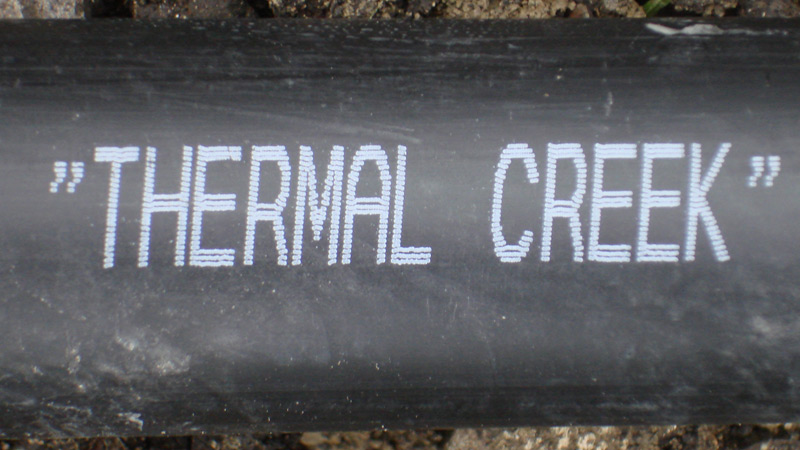
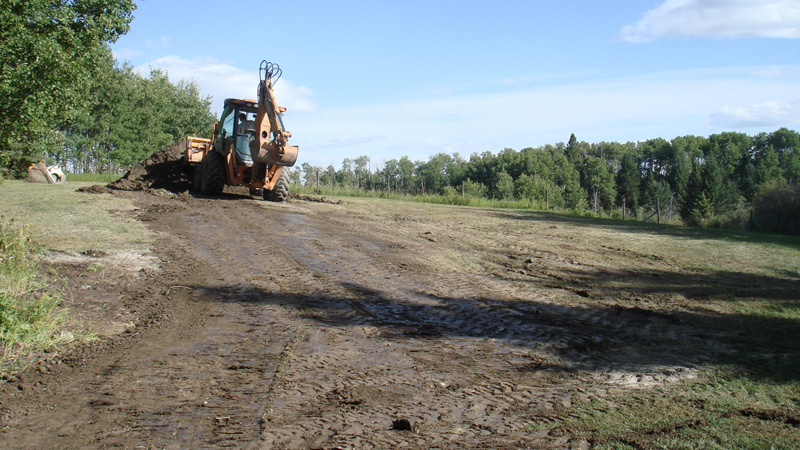
The first step in a new construction geothermal installation involves the ground loop. Installing the ground loop doesn’t interfere with other aspects of the home build, so it is often the first step in a new construction project. After the basement of the home is poured, the ground loop will be set up. This could require the operation of a drilling rig if the home requires a vertical ground loop, or a backhoe if the home requires a horizontal ground loop. This portion of the job takes between one and two days to complete. The plastic piping will be stubbed in through the basement wall, where it will eventually be connected to the heat pump.
Once the frame starts going up, the installer can begin working on the ductwork for a ducted system. If your home is also going to incorporate in-floor radiant heat (a popular option with new homes) this will need to be installed before the floors go in, and your geothermal team will have to coordinate closely with the contractor on this. The installation of the energy distribution system will take between three and four days for one worker to complete.
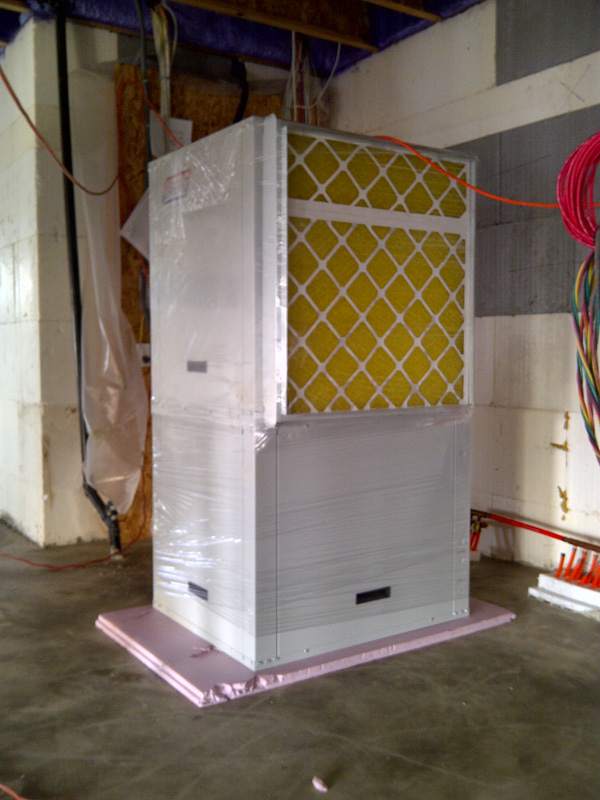
Finally, it’s time for the heat pump to be installed! Once the heat pump is set into place, the installer will connect it to the ductwork, ground loop and the in-floor system. The wiring will be completed next. This step requires that wires are brought over from the electrical panel and the thermostat in order to be connected,. The loop pump pack is also installed on the ground loop, and an antifreeze solution is circulated through the loops. The whole loop is purged of air and pressurized to ensure there are no weak points or leakage. This part of the process will take one day.
The heat pump itself isn’t started up until the house is completed, because during construction the air will be full of dust that will damage the heat pump. Temporary heat is used until the home is completed. The start up process entails several checks and tests to make sure the heat pump is working properly. When your installer starts up the heat pump for the first time, here are some of the things they will check for:
- Water flow from the ground loop.
- Entering and exiting air temperature.
- Amp draw on the heat pump.
- Duct openings and return air.
At this point, if the heat pump is operating within the normal parameters set out in the heat pump’s manual, your installer will fill out the start-up sheet and send it back to us, which will validate the warranty. The heat pump is now fully installed in your new home.
Geothermal Installation Process for Renovations
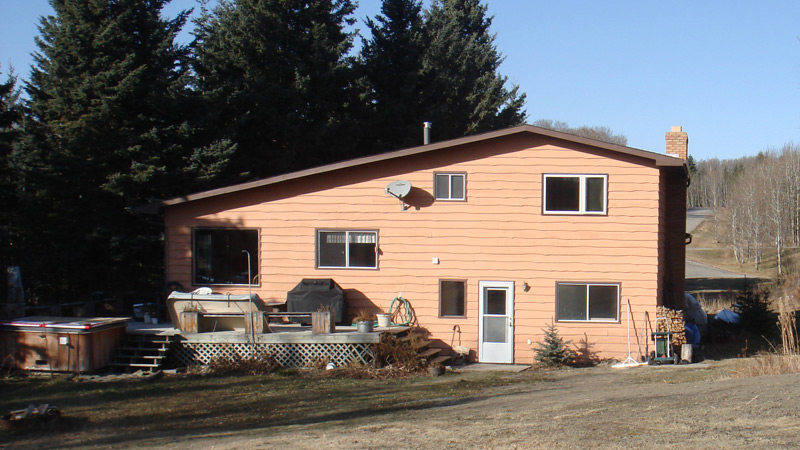
If you’re upgrading your heating system from an older, more expensive heating source, like oil or wood heat, the installation process can be a little more complicated in some ways, but is still easily achievable.
Without a contractor to coordinate with, or other site work to wait on, your installer will be able to complete this project quickly. They’ll be able to install the outdoor ground loop and the indoor energy distribution system simultaneously. The process for installing the ground loop is the same process used for new home construction, but the renovations required inside are more complex.
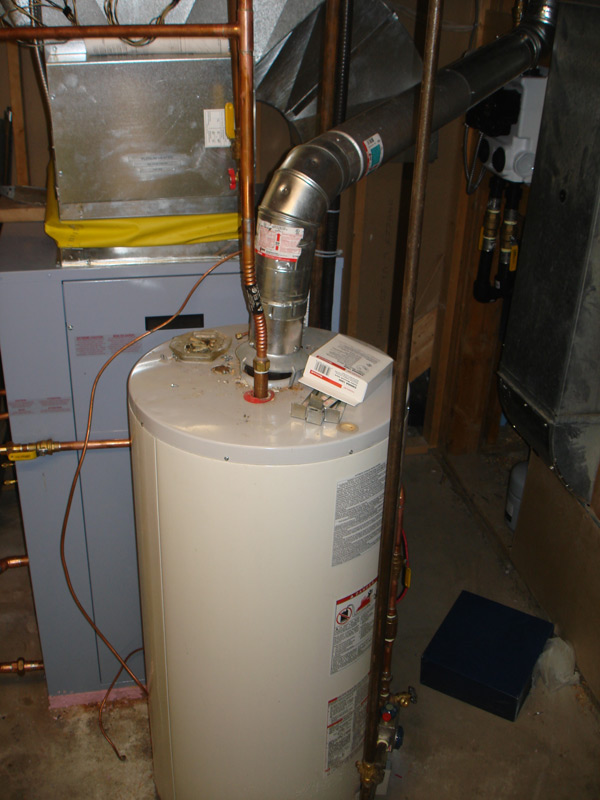
The old heating system will need to be removed from your home. This could be an oil furnace, a wood furnace or an old heat pump. After that, your new heat pump can be installed in its place. The new heat pump will need to be connected to the existing ductwork, and sometimes your installer will need to make modifications to the existing ductwork to configure it for a geothermal heat pump. Most of the time, the ductwork that already exists in the home is too small, and will need to be modified to be about 50% bigger. This can be done without removing existing ductwork and starting from scratch. Usually the trunks will have to be modified and more leads will need to be added.
Once the ductwork is correctly modified and connected to the heat pump, the same wiring and start up procedures that are used for new construction are followed. Retrofits can usually be completed in one week, and can be started up immediately. You’ll be able to realize savings on your home utility bills immediately.


